This post may contain affiliate links to products or materials that I have personally used or endorse. All opinions expressed are mine. Please see my disclosure policy here.
The pattern I’m sharing here as my very first is a very simple crochet washcloth. I taught myself to crochet by making washcloth after washcloth so that I could learn how to count stitches and keep my tension even. It took several attempts and different patterns that looked a lot like this:
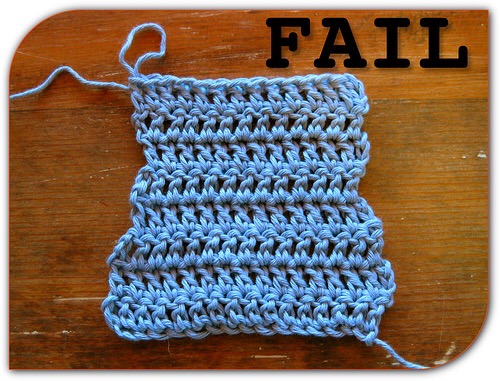
Photo credit: Google image
until my skills improved enough to actually call my creation a washcloth! I also tried a large variety of patterns until I found the patterns I preferred to use as a finished product.
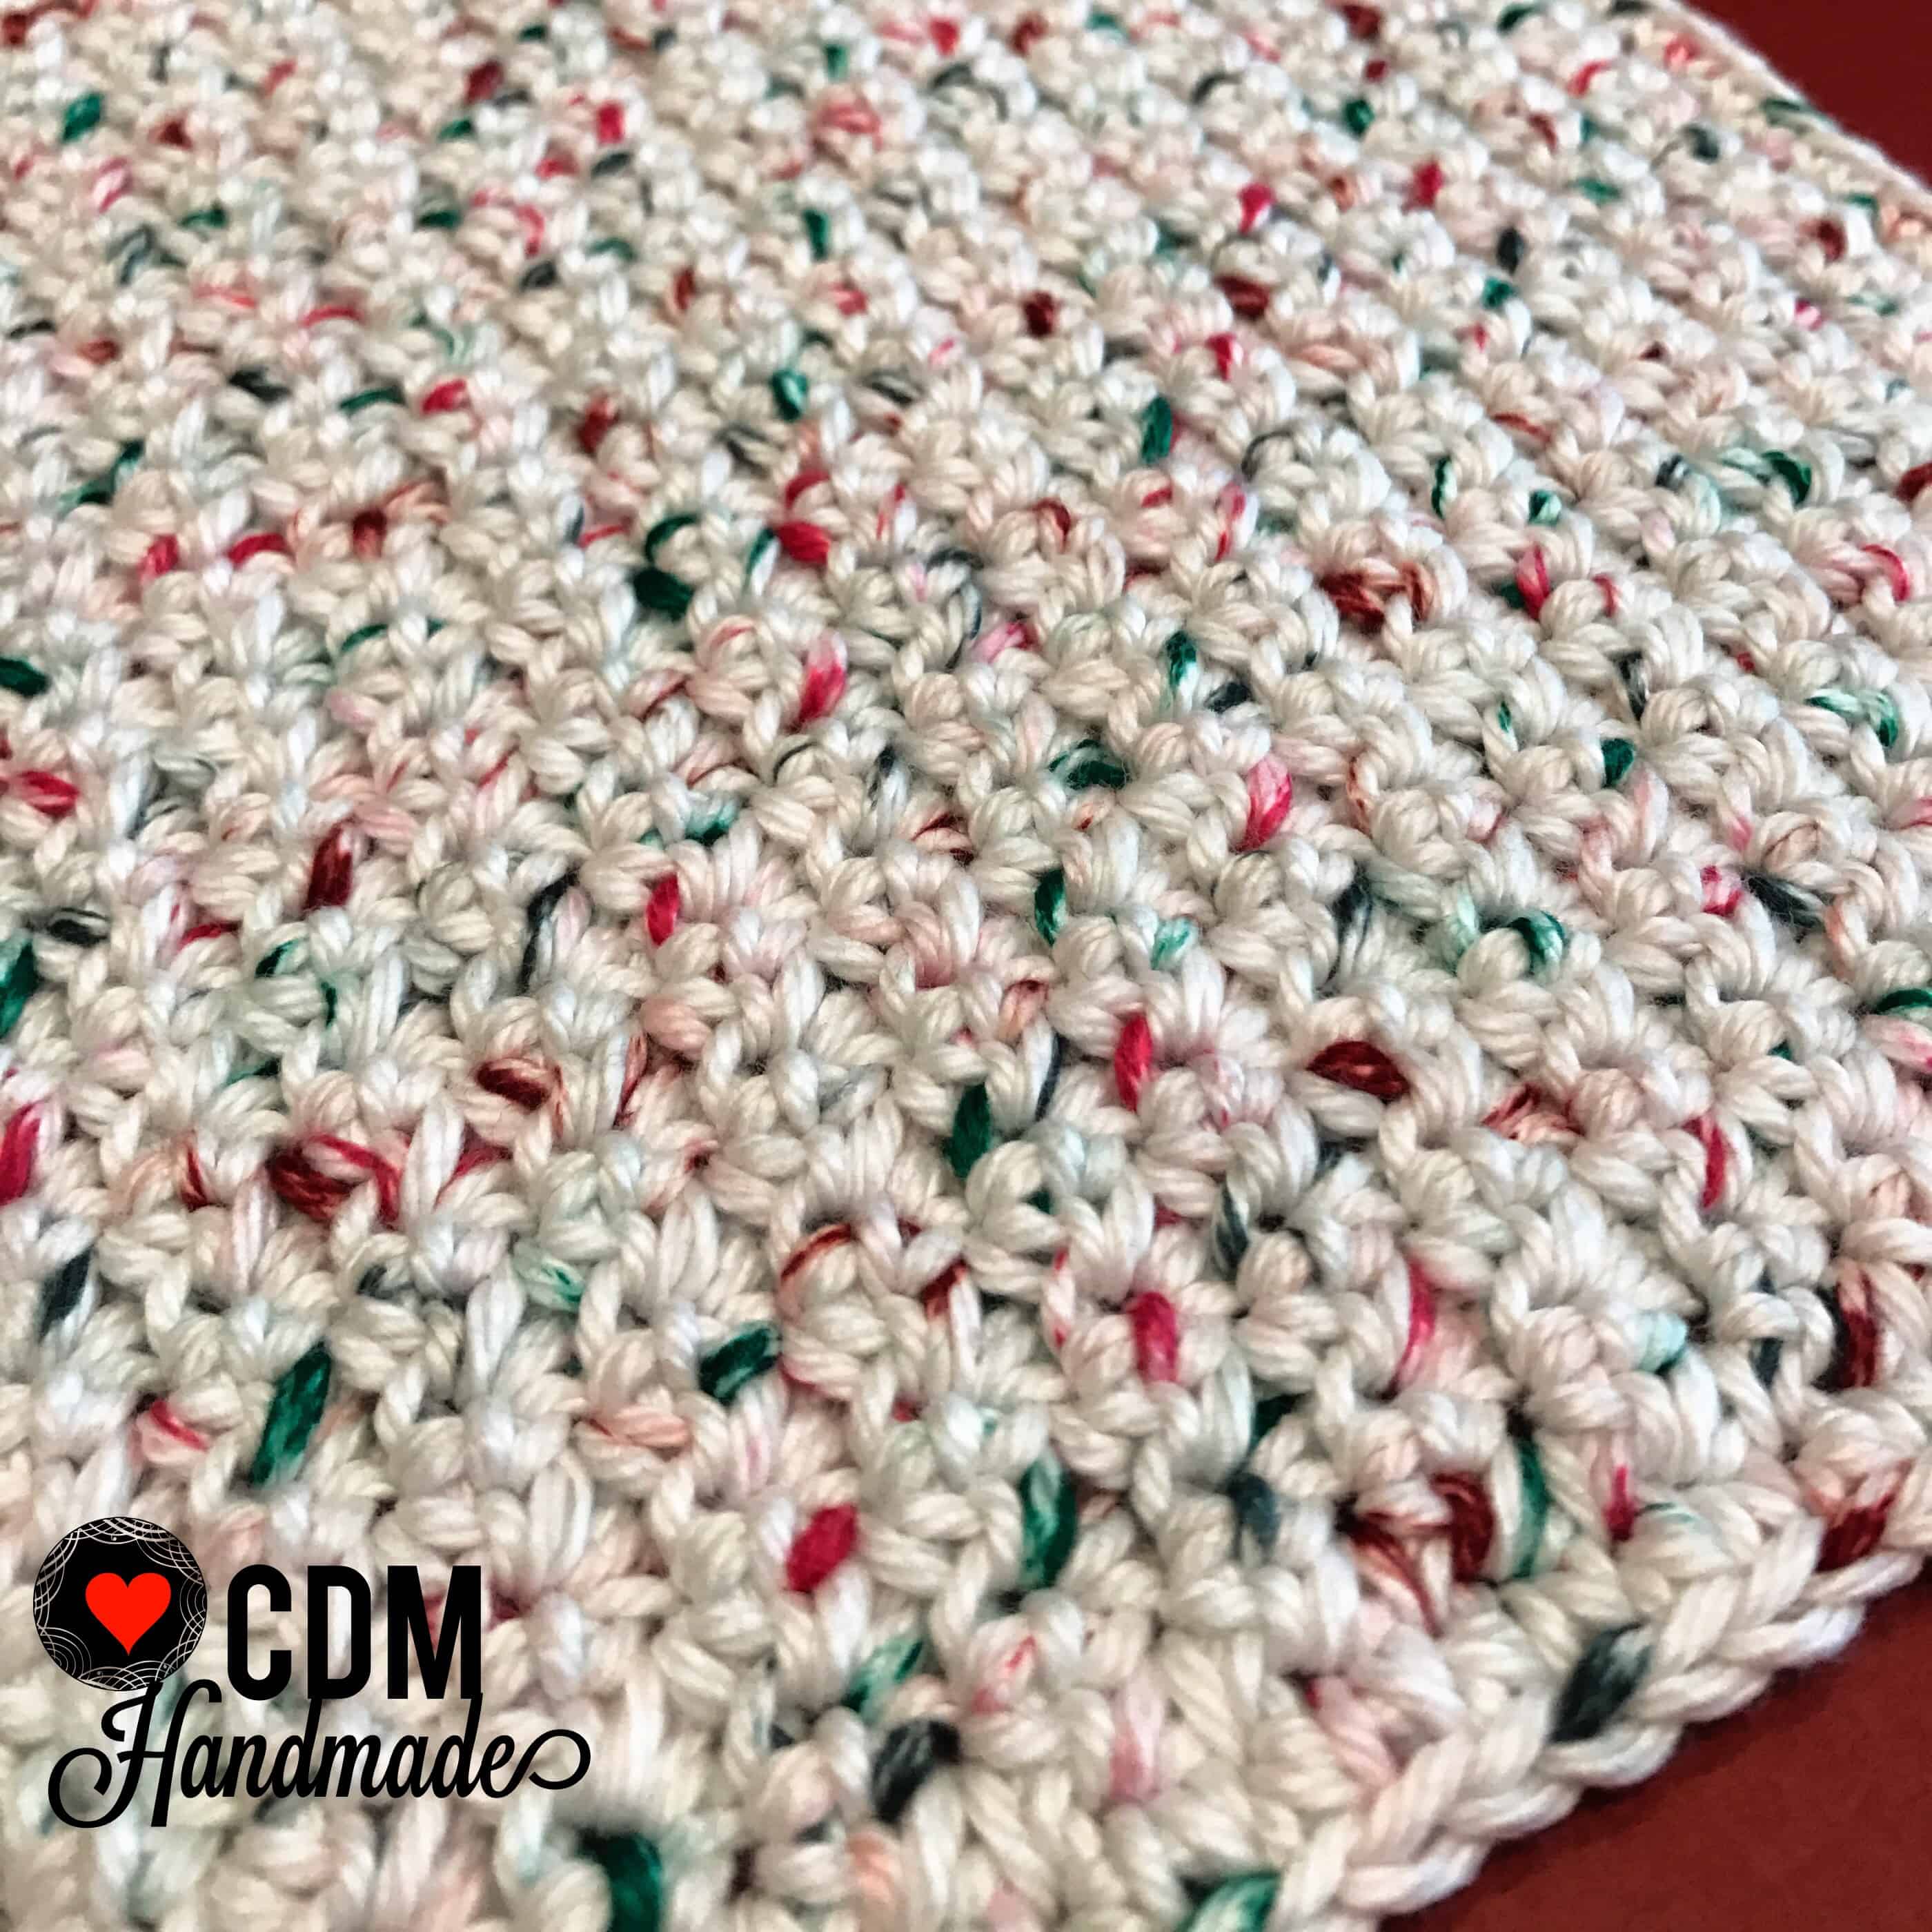
This pattern is a very simple beginner project using a combination of just single crochet and chain stitches.

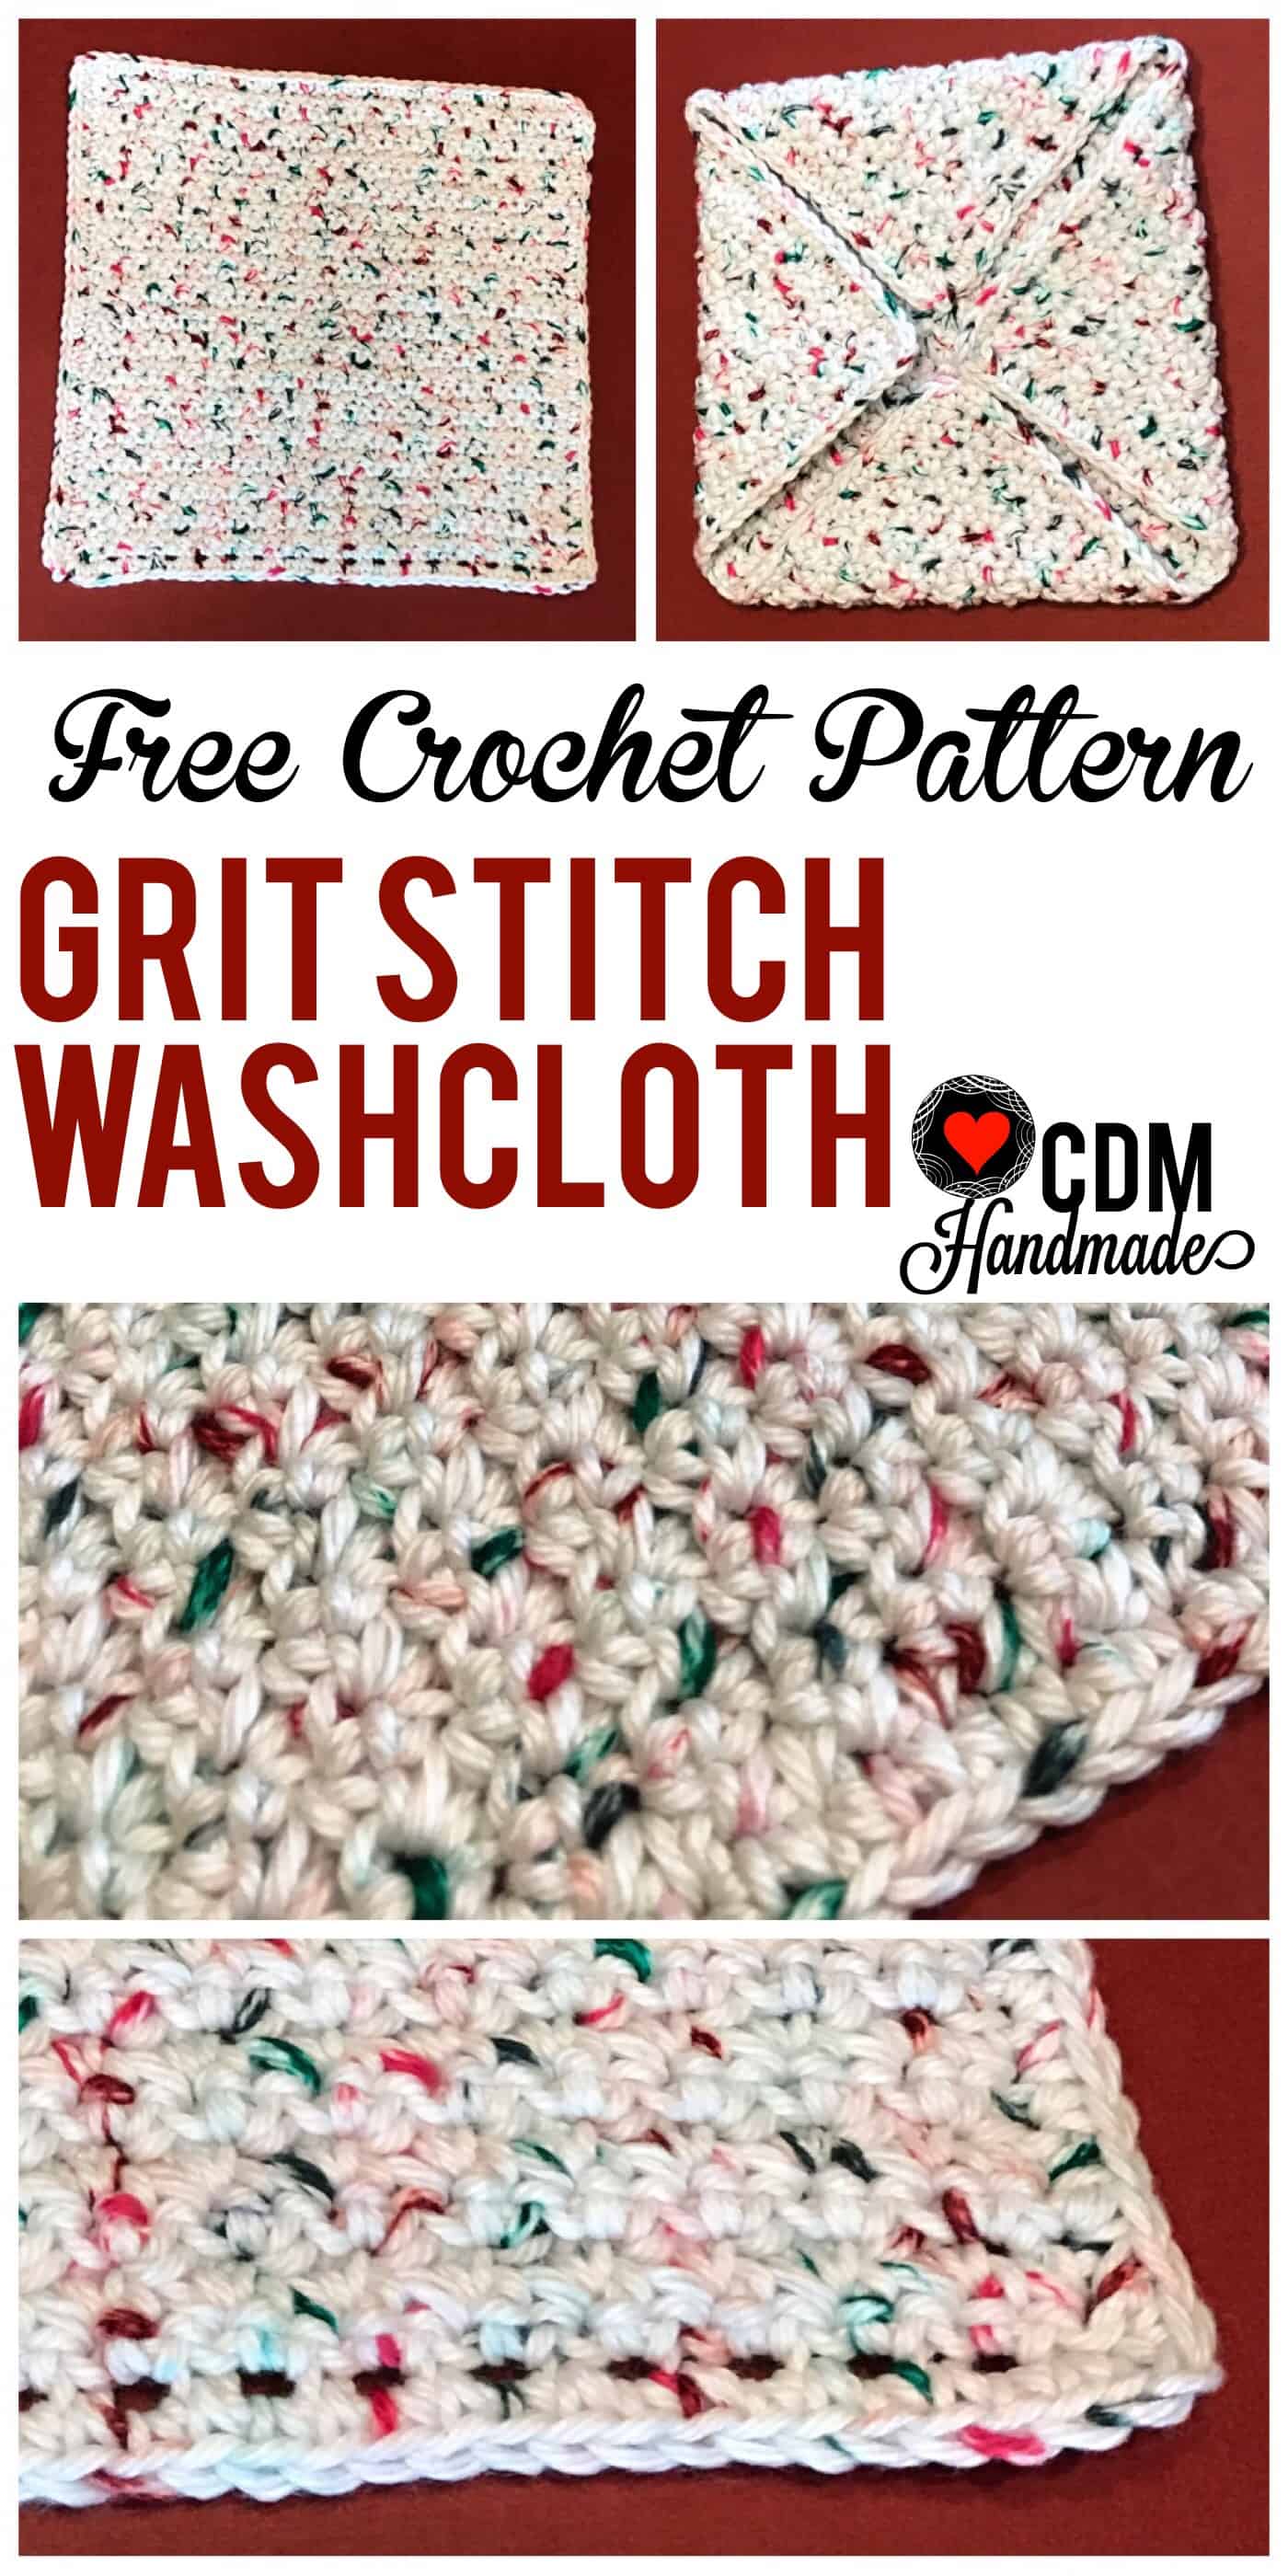
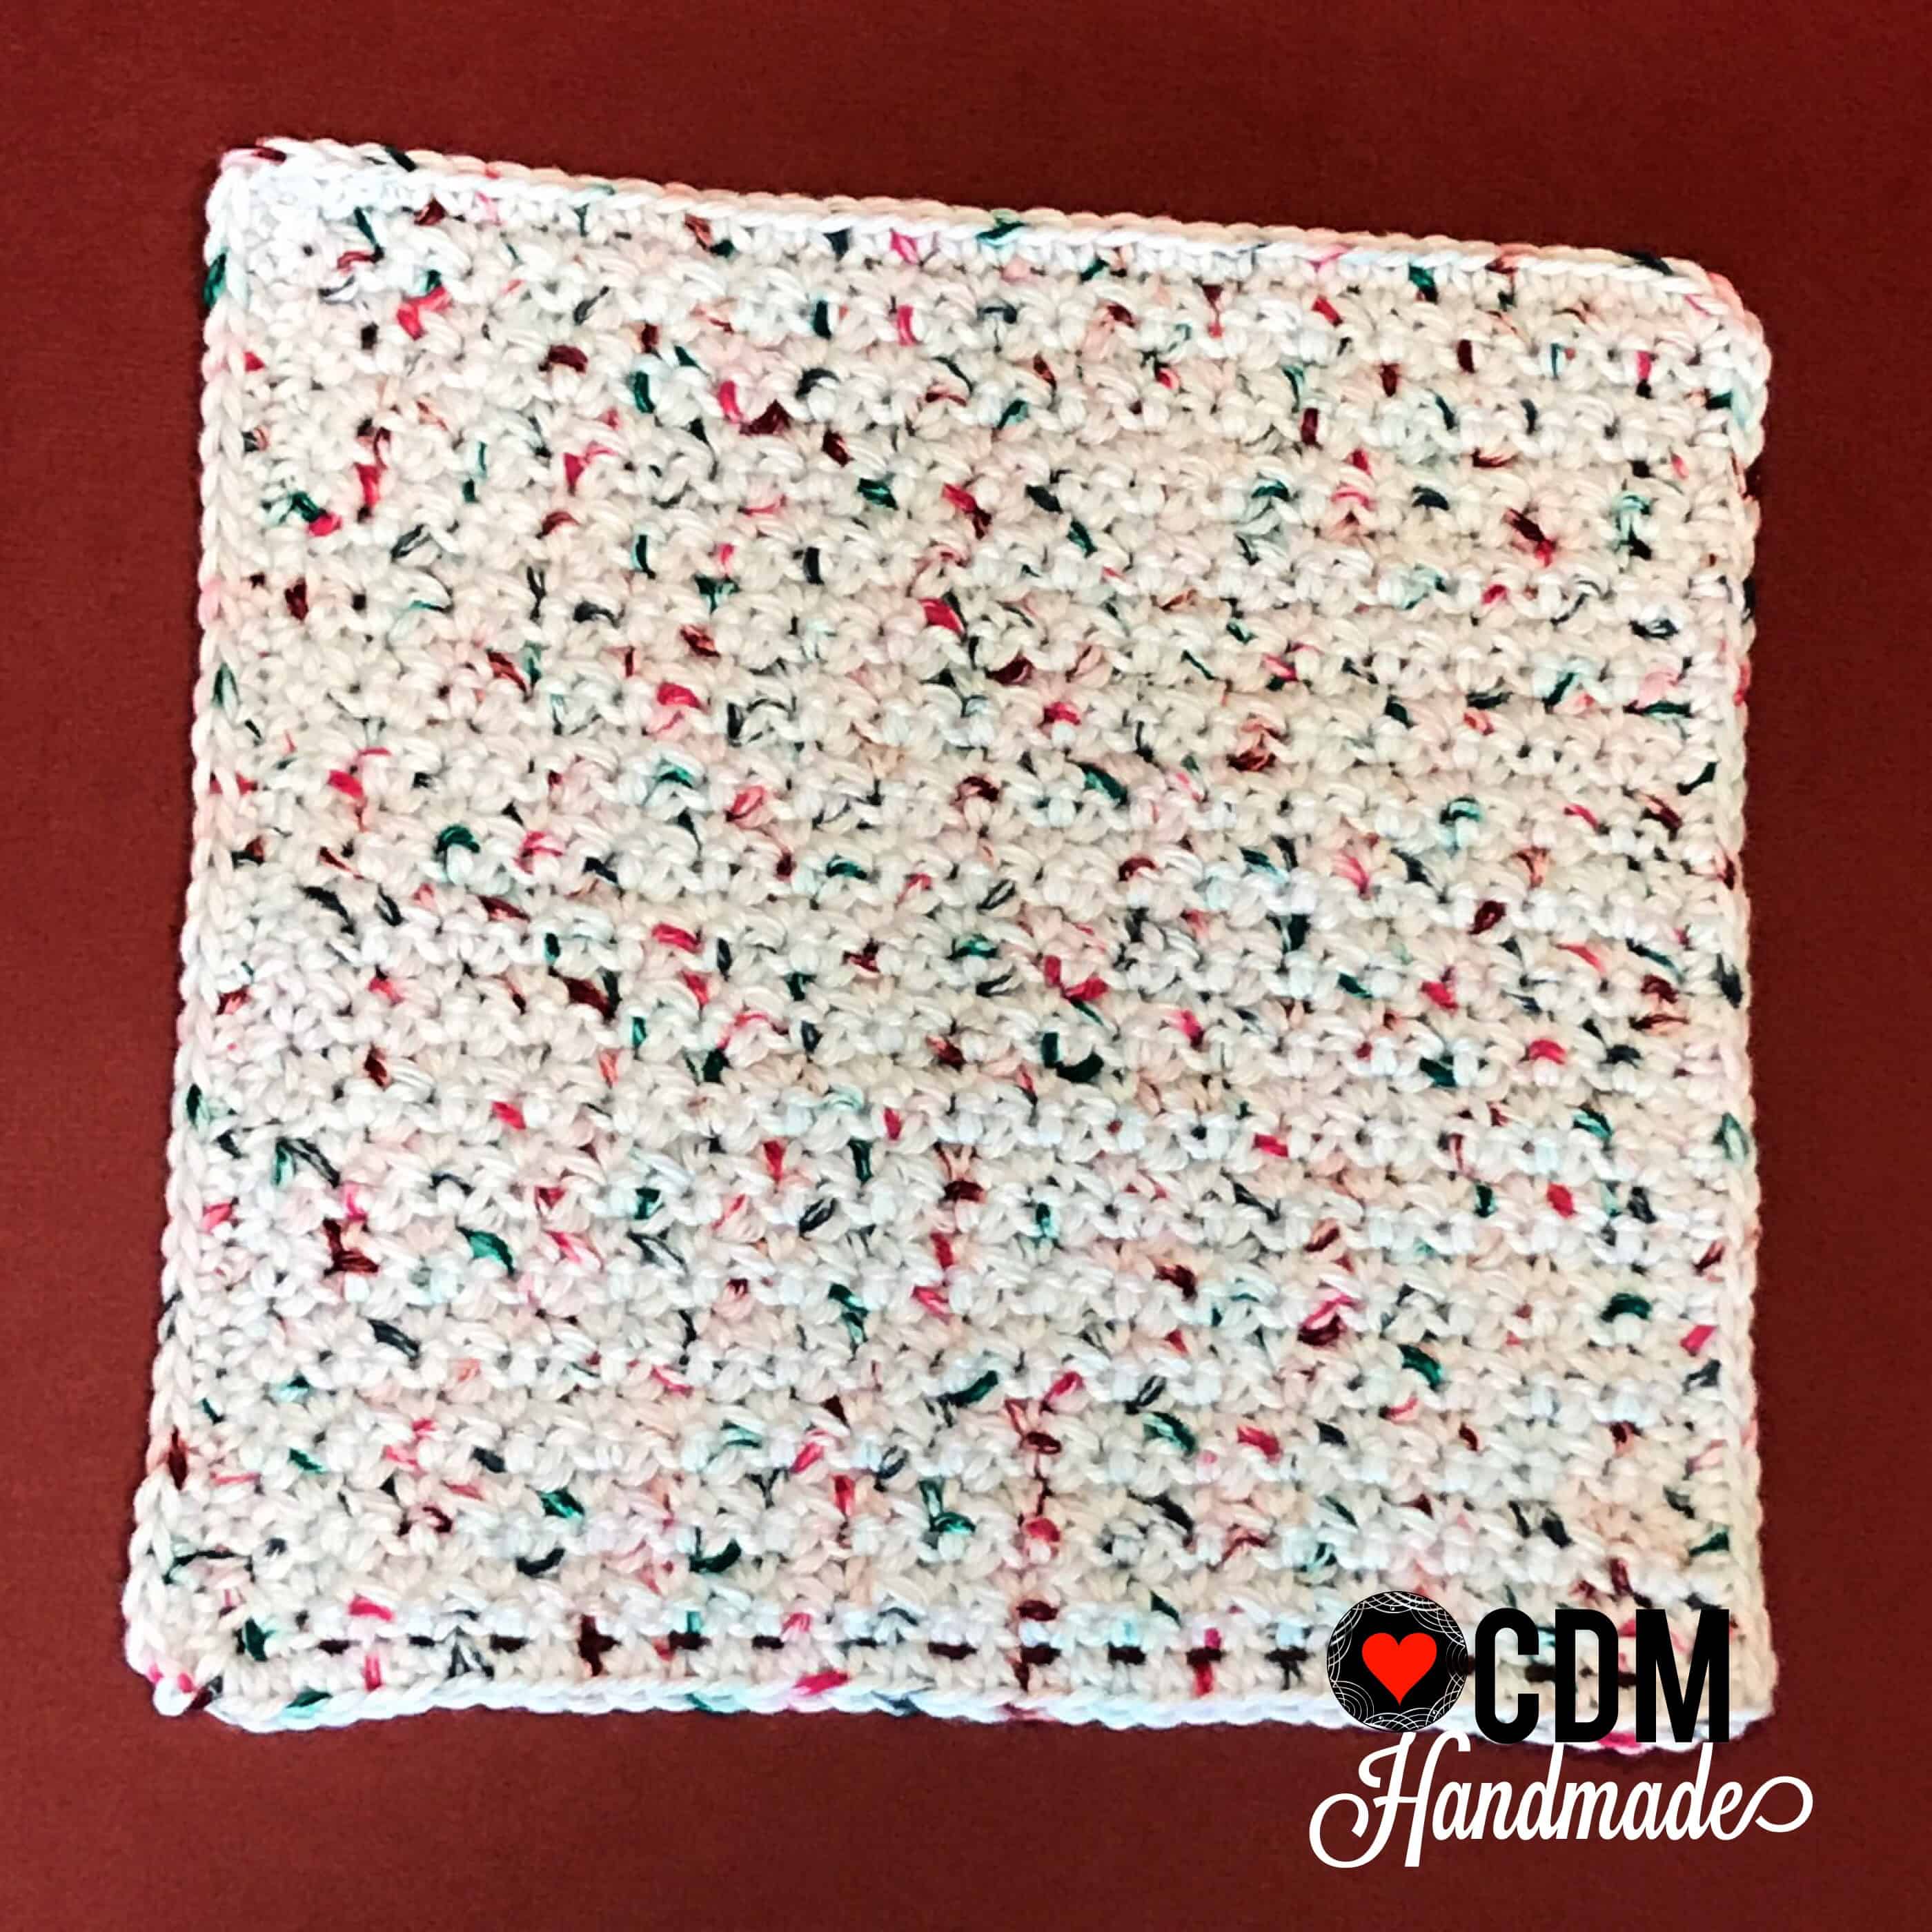
Grit Stitch Washcloth
Abbreviations:
sl st – slip stitch
ch – chain
sc – single crochet
Materials required:
1 skein of 100% cotton yarn – I used “I Love This Cotton” available at Hobby Lobby in color “Christmas II”
Crochet hook, any size – I used my Clover Amour size H (5mm)
Chain 37
Row 1: Ch as described above, sc in the 3rd ch from the hook, *skip the next ch, 2 sc in the next ch; repeat from * until 2 ch remain, skip the next ch, sc in the last ch, turn. (35)
Row 2: Ch 1, sc in first st, *skip the next st, 2 sc in the next st; repeat until 1 st remains, skip the st and sc into the turning ch, turn. (35)
Repeat Row 2 until you reach the desired length. Depending on your yarn, hook and gauge, the row number will vary, but mine is usually 34 rows.
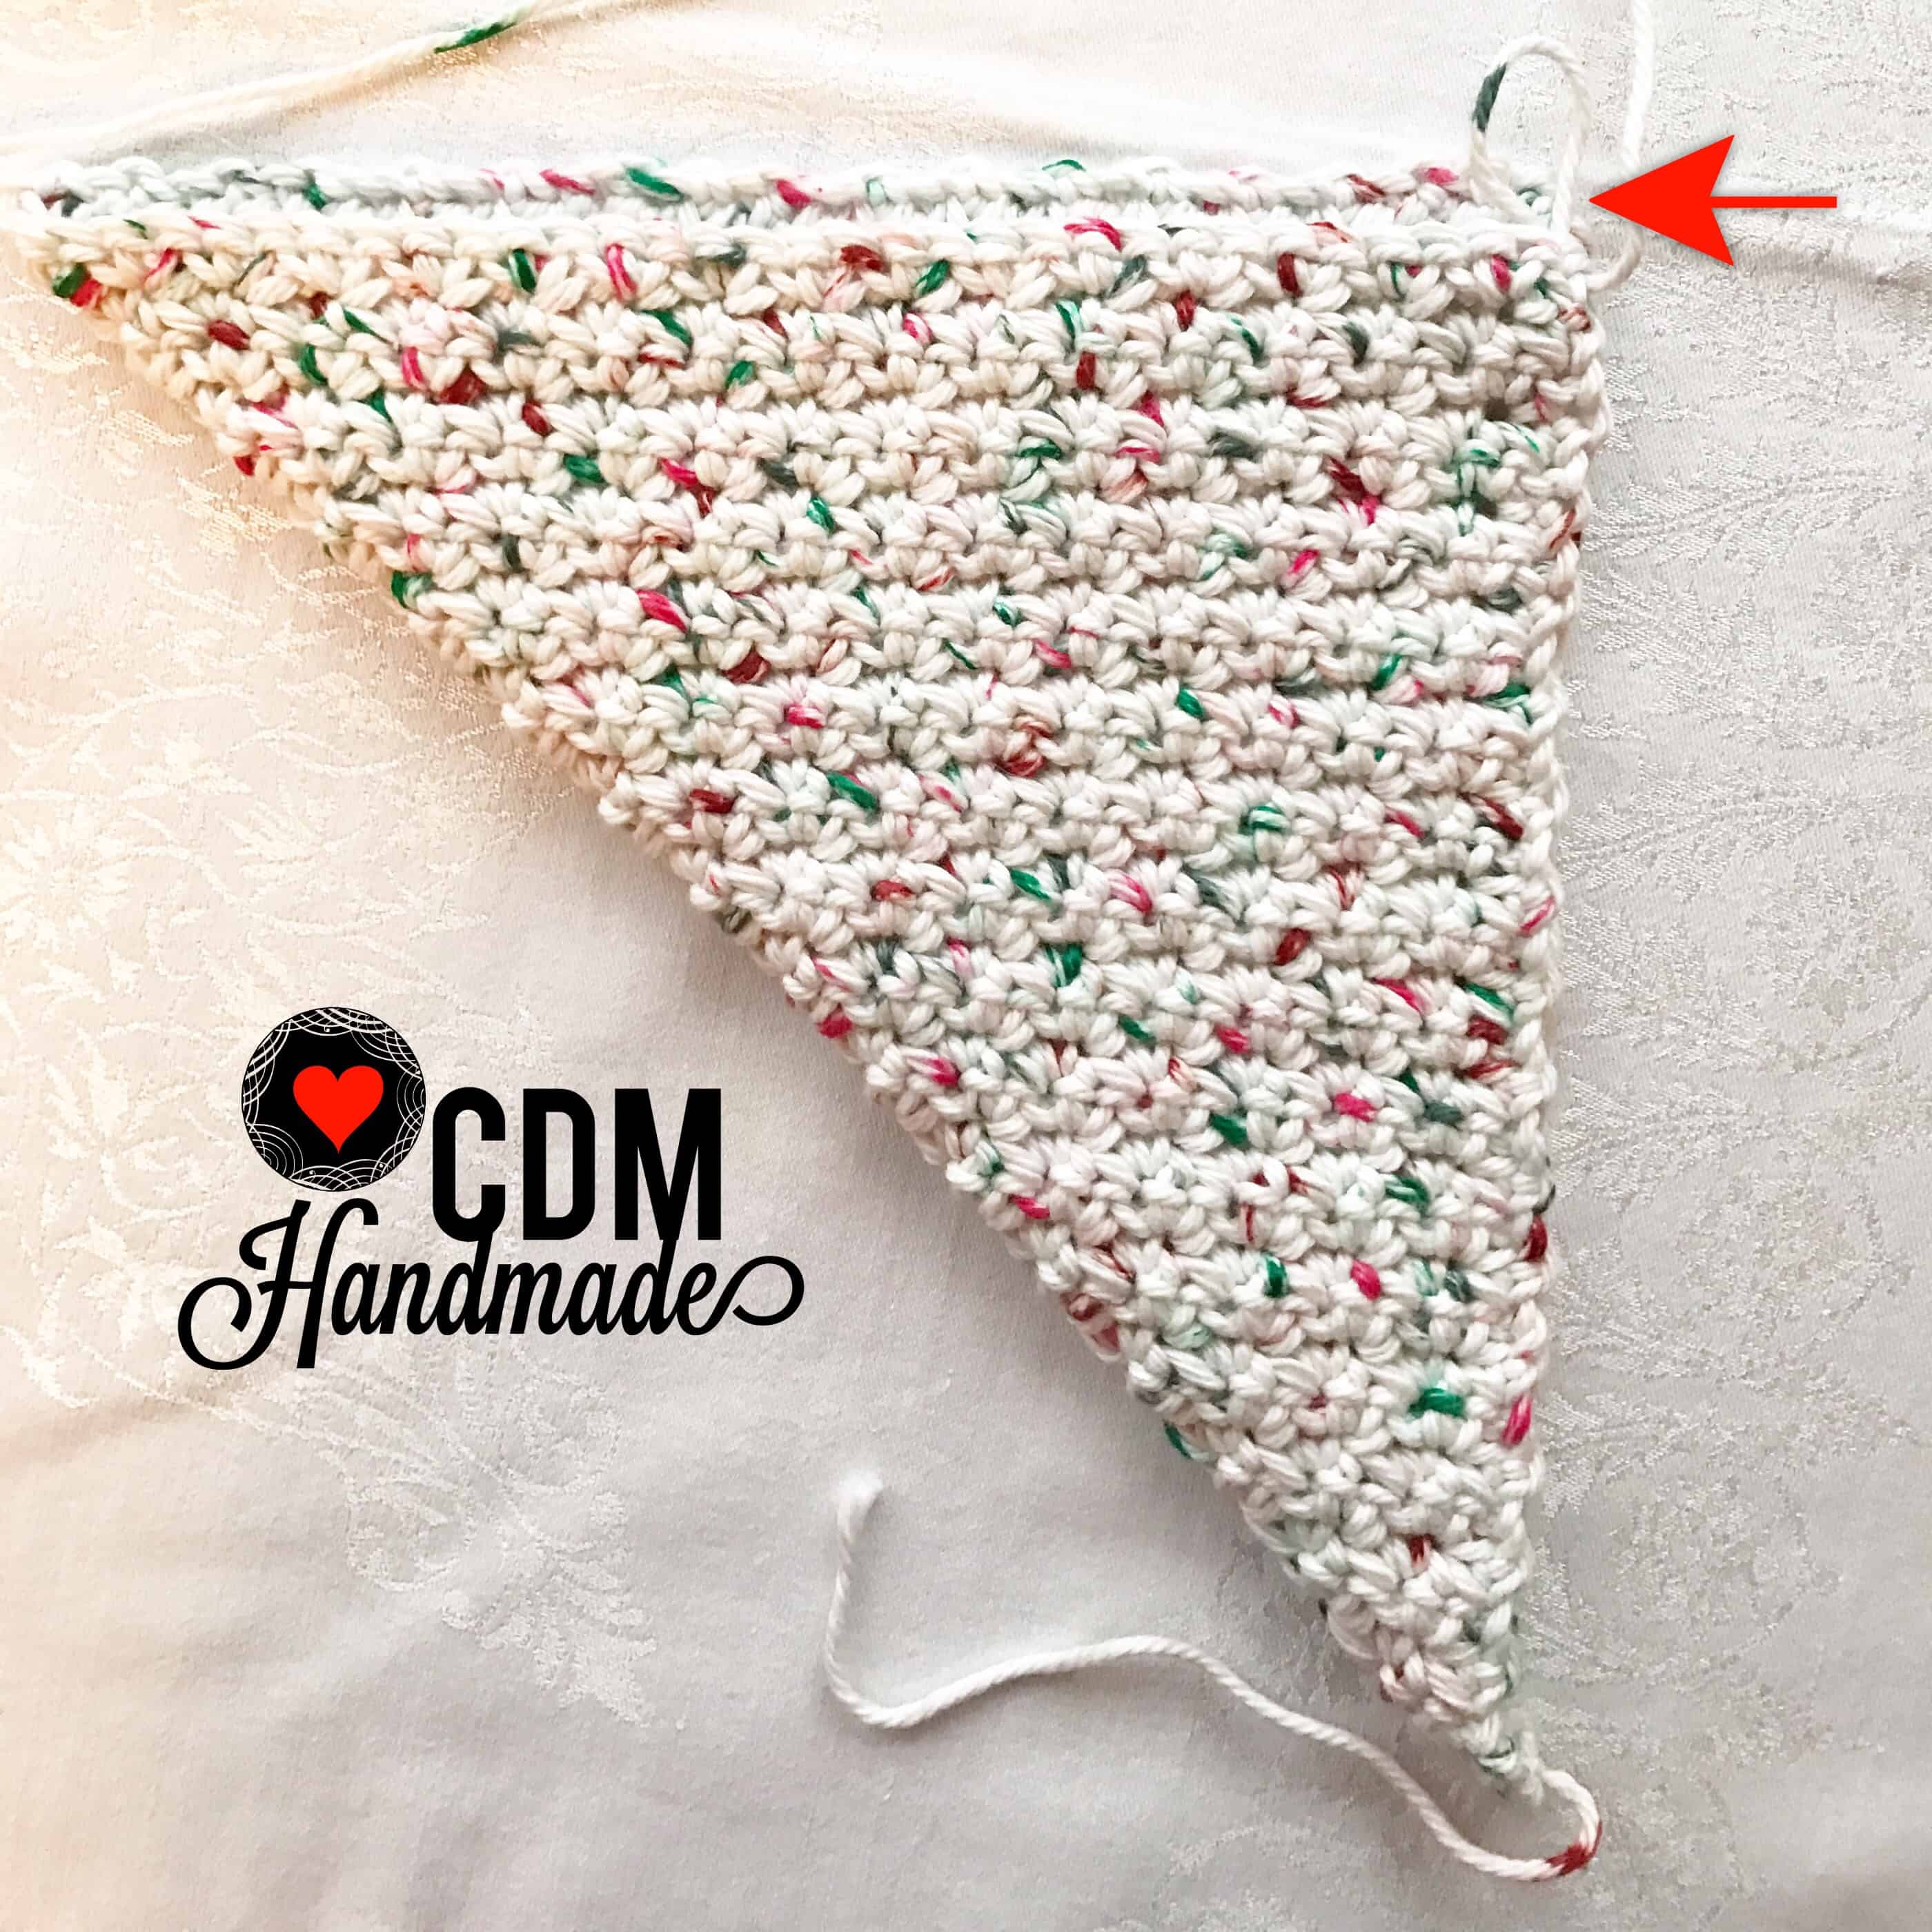
Tip: I usually fold my project in half diagonally to check how “square” it is. In the photo below you’ll notice that I needed one more row to make it square:
Finishing: Ch 1, sc in the corner. Continue down the side of the washcloth, sc in each stitch. In the next corner stitch sc, ch 1, sc. Continue around entire project, repeating the corner pattern (sc, ch 1, sc) on each corner until you’ve completed a row all around your project. Join with slip stitch to the first sc.
I first learned the grit stitch and made a washcloth using this pattern from Moogly Blog, but adapted the pattern to my favorite size and edging. Please visit Moogly Blog for a great video tutorial on the grit stitch.
Here is also a picture series that shows where your stitches should go in the first two rows:

Thanks for visiting my blog for my first free pattern and for supporting CDM Handmade!
Happy creating!